The contents of this article are human-created.
This post may contain affiliate links. Please see my full disclosure for details.
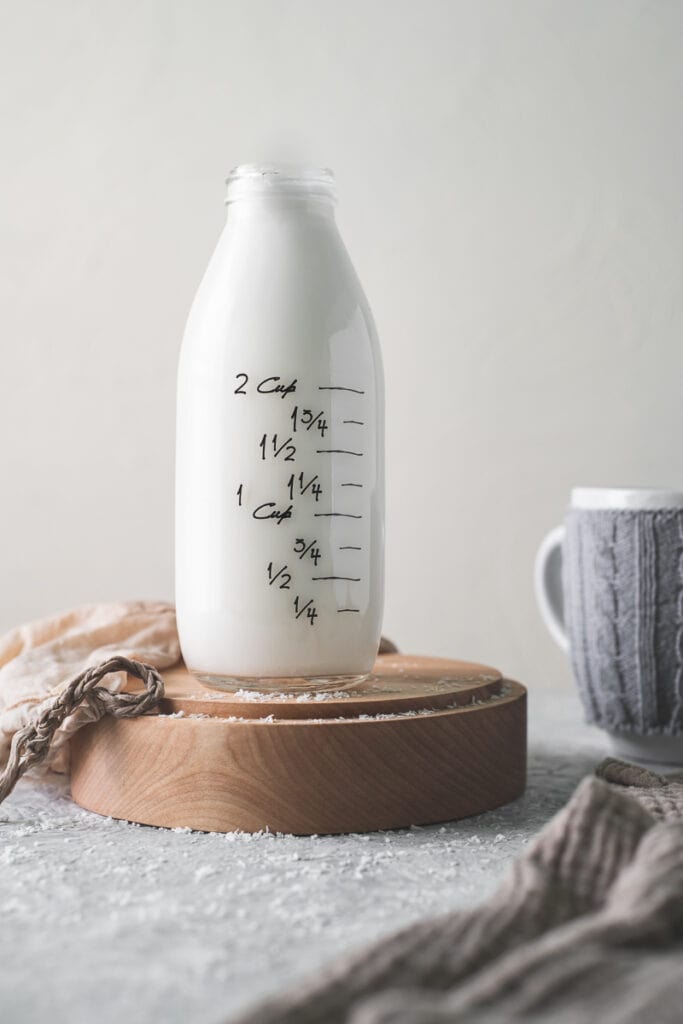
Learn how simple it is to make Homemade Coconut Milk with shredded coconut! This nutritious dairy-free milk is perfect for adding to tea, coffee, hot chocolate and smoothies! Plus, it doesn't require overnight soaking, making it quick and easy.

*Nutrition Disclaimer: The information provided on this site is designed for educational purposes only. You should not rely on this information as a substitute for, nor does it replace professional medical advice, diagnosis, or treatment. Please read my disclaimers page for more information.
If you're a coconut lover, you probably have a few go-to recipes that call for coconut milk. So, you'll be glad to learn that there's a quick, easy way to make Coconut Milk right at home.
Personally, I think everyone should know this handy little kitchen hack!
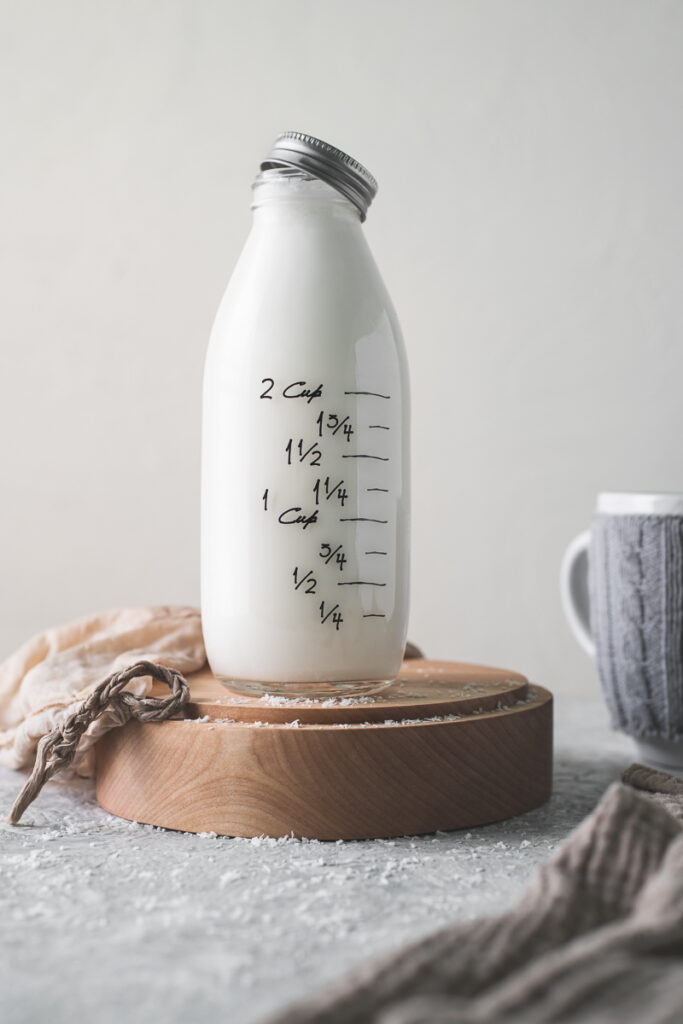
Is Coconut Milk Healthy?
Coconut milk is full of healthy fats and makes a delicious dairy-free alternative. Plus, making it at home can be a healthier option that's free of additives.
While canned coconut milk is incredibly convenient and great for full-fat recipes, the linings and metal can leach into our otherwise healthy coconut milk.
So, although I still use canned coconut milk for certain recipes, I opt for homemade whenever possible.
Health Benefits
Nutrient-rich. Coconut is full of health-promoting nutrients, including MCTs (medium-chain fatty acids), vitamin C, potassium and calcium.
Promotes healthy digestion. Thanks to the MCTs and antimicrobial properties, coconut milk is a non-dairy alternative that's excellent for improving digestion and balancing gut flora.
Anti-inflammatory. Again, thanks to the MCTs coconut milk can be a great food to help reduce inflammation.
Heart healthy. Coconut milk can help to reduce LDL (bad cholesterol) while increasing HDL (good cholesterol).
Skin-Loving. Coconut milk is full of skin-loving nutrients, including vitamin C, fatty acids, antioxidants and lauric acid, which can help reduce acne and prevent signs of aging.
Seasonal Benefits
Summer is a great time to enjoy the cooling benefits of coconut. It's great for adding to summer smoothies and refreshing drinks.
Autumn and Winter are great times to reap the satiating benefits of coconut milk since the healthy fats can help to keep the body warm during the cooler months. It also makes a great addition to cozy winter soups!
How to Make Coconut Milk with Shredded Coconut
As mentioned, making homemade coconut milk with shredded coconut is so easy and cost-effective that everyone should know this little DIY kitchen hack!
Equipment
- Blender to blend the coconut with water.
- Plant-milk bag to strain out the pulp.
- Large liquid measuring cup or bowl to strain the milk into. I like to use a 4-cup measuring jug to prevent splattering and for ease of pouring.
Ingredients
- Unsweetened shredded coconut or unsweetened coconut flakes work for this recipe.
- Filtered water for soaking and blending. You can also use pure coconut water to make the milk.
Step 1: Soak
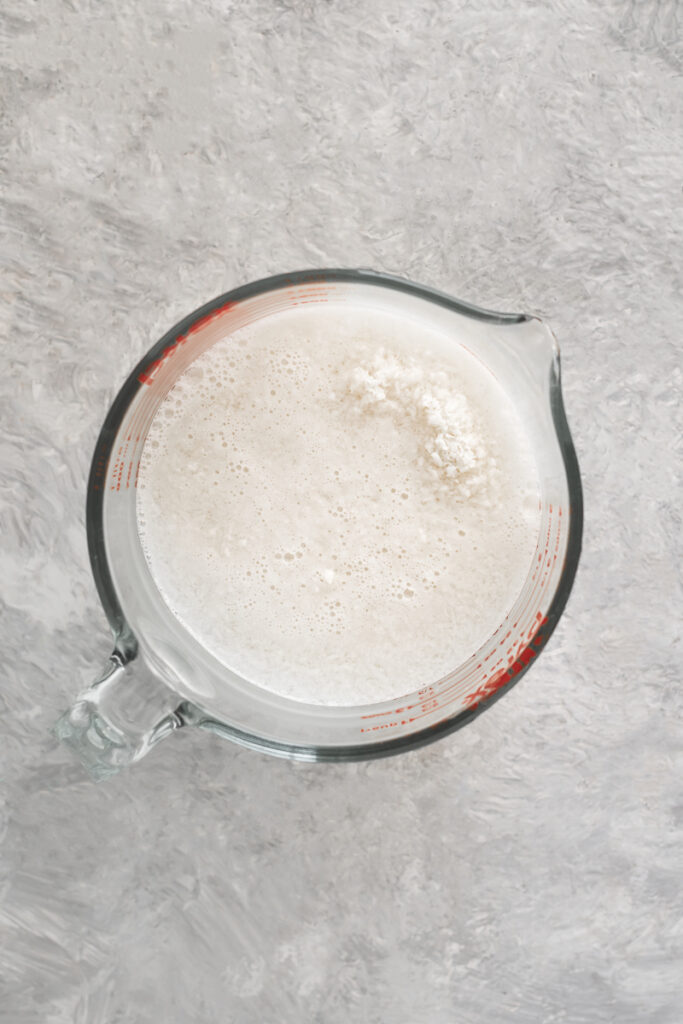
For a single batch of this recipe, place one cup of unsweetened shredded coconut in a bowl or large liquid measuring cup.
Pour two cups of warm water over top and let it soak for five to ten minutes or until cool.

Step 2: Blend
After the coconut has soaked and the water has cooled, pour it all into your blender jug and blend for 1 - 3 minutes (depending on your blender). It should become nice and frothy.
The longer you blend, the less pulp and more milk you will get. However, I wouldn't recommend blending longer than 3 minutes as it will start to get hot.

Step 3: Strain
After blending the shredded coconut and water, all you have to do is strain and squeeze it through a plant milk bag. A sieve will also do the job.
Although, I should note that you may get a bit of a gritty texture if using a sieve.
To strain through a plant milk bag, simply drape it over a large liquid measuring cup or a bowl.
Next, pour the blended coconut and water in. Hold the top of the bag closed as you squeeze the milk out of the bottom. You can watch the video to see how it's done.

Once you have squeezed all the milk out, it's ready to use! Use it right away for soup, drinks or your favourite creamy coconut dishes.
If you won't be using it right away seal it in a clean jar and keep it in the fridge for up to 3 days.
You can discard the coconut pulp (what's left in the bag) in the compost, or you can add it to healthy homemade desserts.
My Top Tip
Don't skip the soaking. While it can be tempting to skip this part, it does make a creamier, smoother milk. It also puts less wear and tear on your blender.
Substitutions & Variations
Pure coconut water can be used instead of regular filtered water. Using coconut water will also make it closer to full-fat canned milk.
Adjust the thickness by adjusting the water-to-coconut ratio. If you want thicker milk, add more shredded coconut and less water. If you want thinner milk, add more water and less shredded coconut.

Ways to Use Homemade Coconut Milk
Recipe Highlights
Suitable for many diets. Coconut Milk is a creamy and delicious non-dairy milk alternative that's grain and gluten-free, making it paleo and keto-friendly.
No overnight soaking. This is one non-dairy milk that doesn't require overnight soaking and can made in less than 30 minutes!
Natural Source of MCTs. Rich in medium-chain triglycerides (healthy fats), Coconut Milk is excellent for gut, brain and joint health.
Cost effective. A 340g bag of shredded coconut can yield 4 - 5 batches of coconut milk. Plus, you can use the leftover pulp to make healthy treats! So, you're getting a lot more bang for your buck.
FAQs
The one downside to Homemade Coconut Milk is that it doesn't have a shelf-life like canned. It is best used right away or within 3 days. Make sure to store it in the fridge in an airtight glass jar to avoid spoilage and contamination.
Yes, unsweetened coconut flakes can be used to make this homemade coconut milk. Simply swap them out for the unsweetened shredded coconut.
Coconut milk is a great dairy-free alternative that has many uses, including soups, curry, creamy drinks and baking! It also has many nutrients that can promote heart, brain, gut, digestive and skin health. Plus, it's a great food to incorporate in your diet to help reduce inflammation.
Coconut milk is an excellent source of healthy fats. These fats tend to separate from the liquid when stored at cooler temperatures. Since homemade coconut milk needs to be refrigerated, it is normal for the fats to solidify at the top. Simply heat it over low for a few minutes to melt it. Whisking it may also help mix it back into the liquid.
How to Make Homemade Coconut Milk (With Shredded Coconut)
Print RecipeEquipment
- Blender
- Plant Milk Bag
- Large Liquid Measuring Cup or Bowl
- Airtight Container if Storing
Ingredients
- 1 cup Unsweetened Shredded Coconut (Unsweetened Coconut Flakes will also work)
- 2 cups Filtered Water
Instructions
- First, boil or warm the water. Then, place the unsweetened shredded coconut in a bowl or large liquid measuring cup. Pour the warm water over top and let it soak for 5 - 10 minutes.
- After the coconut has soaked and the water has cooled, pour it all into your blender jug and blend for 1 - 3 minutes (depending on your blender). It should become nice and frothy.
- Drape a plant milk bag over a large liquid measuring cup or a bowl. Then, pour in the blended coconut and water. Hold the top of the bag closed as you squeeze the milk out of the bottom.
- Once you have squeezed all the milk out, it's ready to use! Use it right away for soup, drinks or your favourite creamy coconut dishes. If you won't be using it right away, seal it in a clean jar and keep it in the fridge for up to 3 days. You can discard the coconut pulp (what's left in the bag) in the compost, or you can add it to healthy homemade desserts.



Irena says
Hi Michelle,
I made the coconut milk for the first time today and it was delicious! I used a pinch of salt, one date and 1/2 tsp of vanilla bean paste. It was a little more sweet than I expected (since I usually use the same amount of date/vanilla for 1 cup of nuts and 3 cups of water when making a nut milk).I recently decided to cut/decrease dairy because of cystic acne, so it is nice to try to make different kinds of milk. Thank you for the recipe!
Michelle McCowan says
Oh good, I’m so pleased to hear 🙂 Yum! What a great idea! That sounds like a delicious touch, adding the vanilla, date and salt.
Awe, I’m so glad you found the recipe helpful, Irena!
Karl KLEIN says
Good instructions
Denise says
Always made coconut milk but any idea on how to prevent clumping once it gets cold ?? Thanks !
Michelle McCowan says
Unfortunately, since coconut milk has such a high fat content, it is bound to clump when it gets cold. However, I find the fat usually forms into one solid chunk at the top. So, if you don't mind having a little less fat content in your coconut milk, you could separate the solid fatty part, just leaving the liquid at the bottom. Another way might be to blend it with another homemade milk (such as almond or tigernut), though I have not tried that yet, so I can't say for sure.
This a great question, and I will do some experimenting to try and find a way to keep it creamy and smooth when cold.
Thanks for the question, Denise!